
This going to be a quick guide for beginners as well as advanced users to get started and installing PostgreSQL aimed at Window users.
Installing PostgreSQL
First, download PostgreSQL for Windows. Be sure to pick the PostgreSQL version you would like.
Run the downloaded installer and follow the wizard steps.
During the setup, you will be prompted with a few steps.
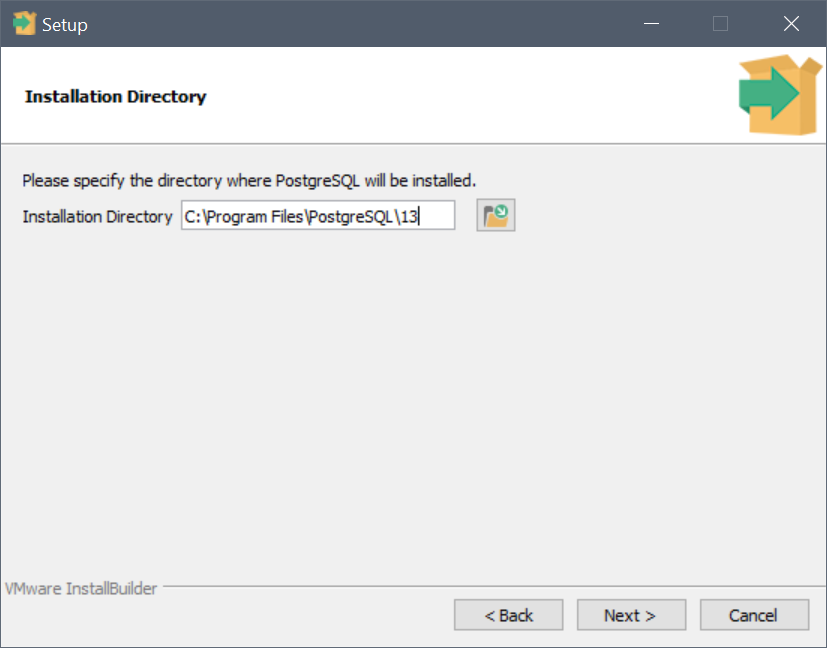
1. Installation directory
Keep this as default unless you want to install it elsewhere.
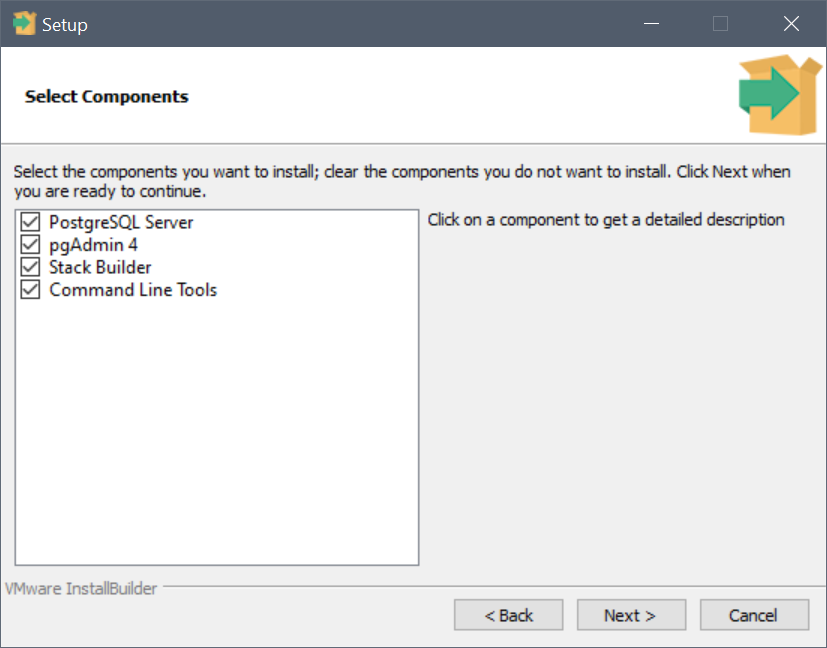
2. Components to install
The key components to install is PostgreSQL Server. However by default it selects everything and that’s okay.
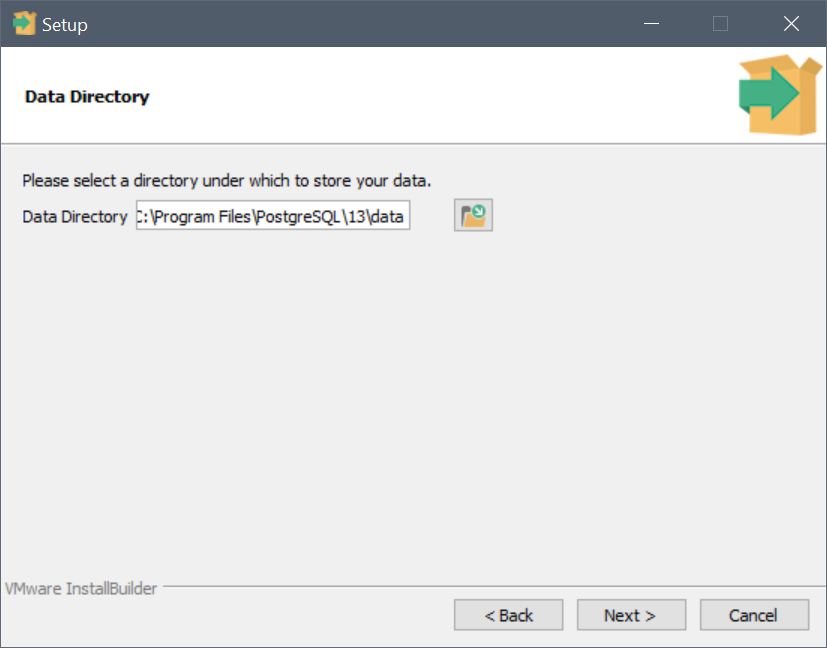
3. Select a data directory
This is the location of where PostgreSQL should store data. Again, you can leave this as default.
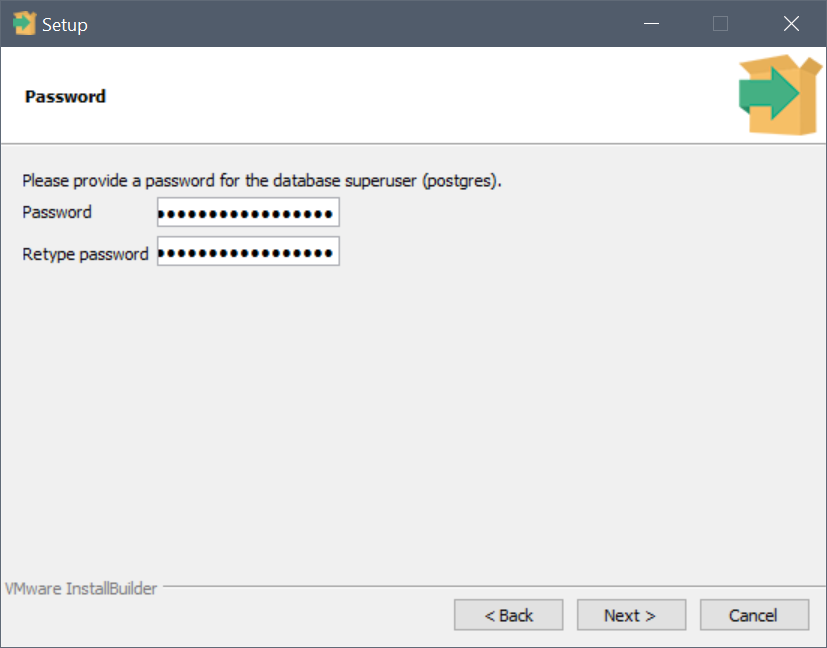
4. Set a password
It will ask for a password for the default user postgres. Make a note of the password as it will be needed to the database as well as a quick test to connect to it using Azure Data Studio.
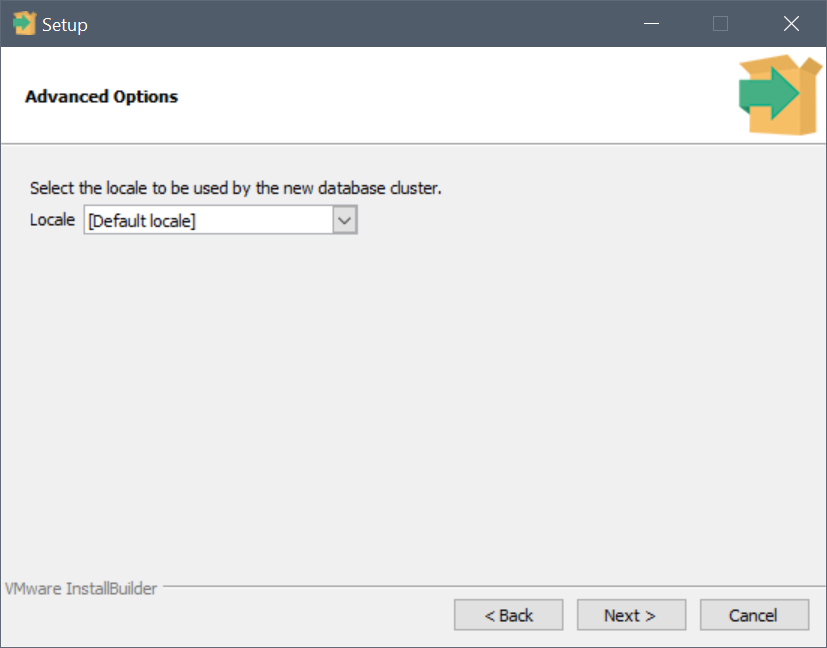
5. Locale
You can select a locale for the database. You can leave the default which is [Default locale].
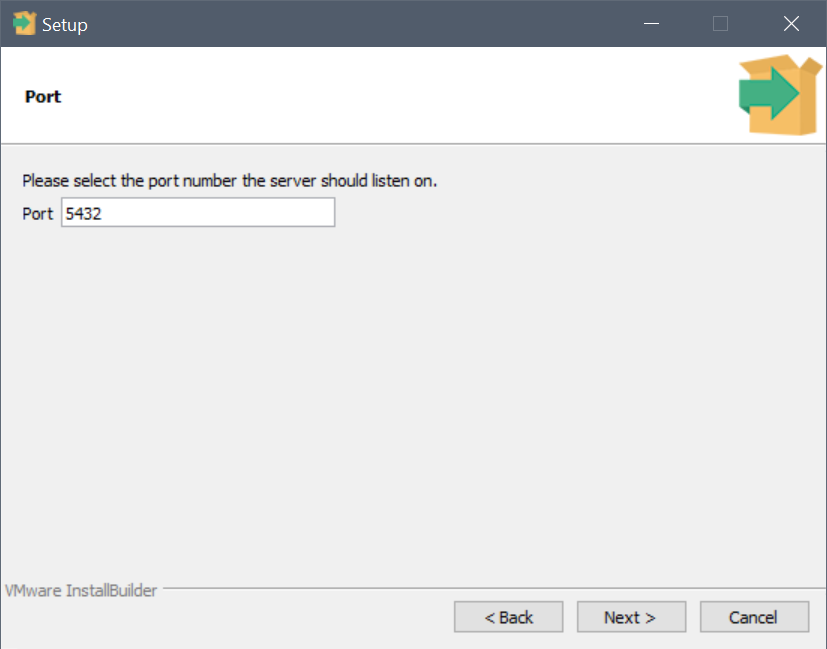
6. Set a port
The default port for PostgreSQL is 5432. Leave this as it is unless you want to set it to another port.
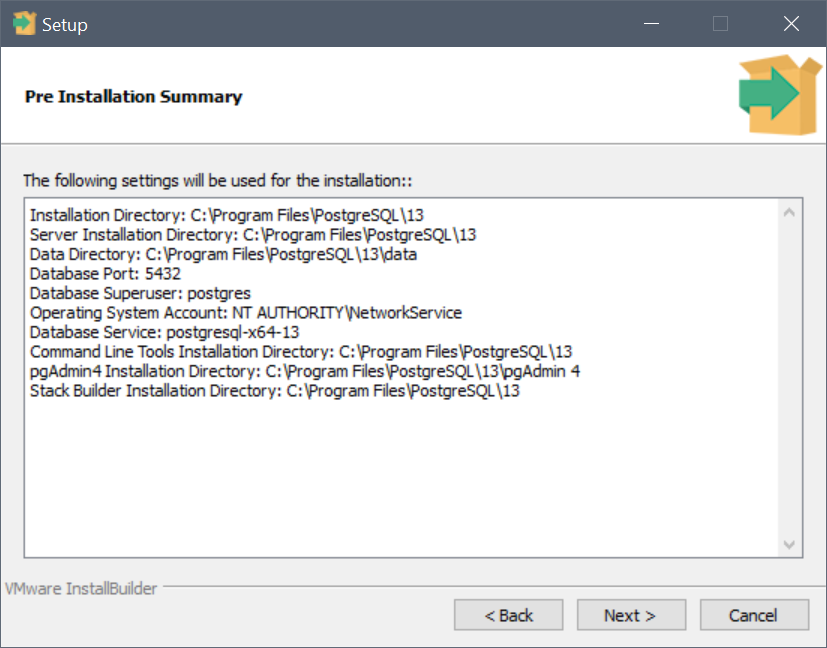
7. Install summary
The penultimate step is just a summary of things the installer will install.
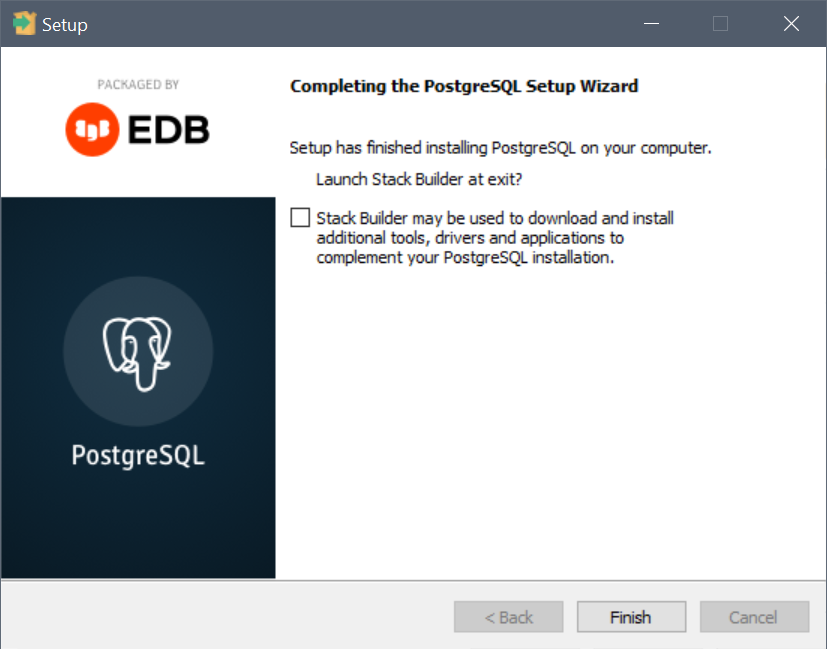
8. Install Complete
Finally after a few minutes, you should get a successful installation prompt. I unchecked Launch Stack builder to save some time on installing.
With that done, you should have PostgreSQL installed and ready to go.
Connecting using Azure Data Studio
I like using the free Azure Data Studio, which is Microsoft’s offering for querying Microsoft’s SQL Server, but also has the ability to query PostgreSQL. Its also cross platform and happily work on both Mac and Linux as well.
1. Download Azure Data Studio
Download and install Azure Data Studio
2. Install PostgreSQL Azure Extension
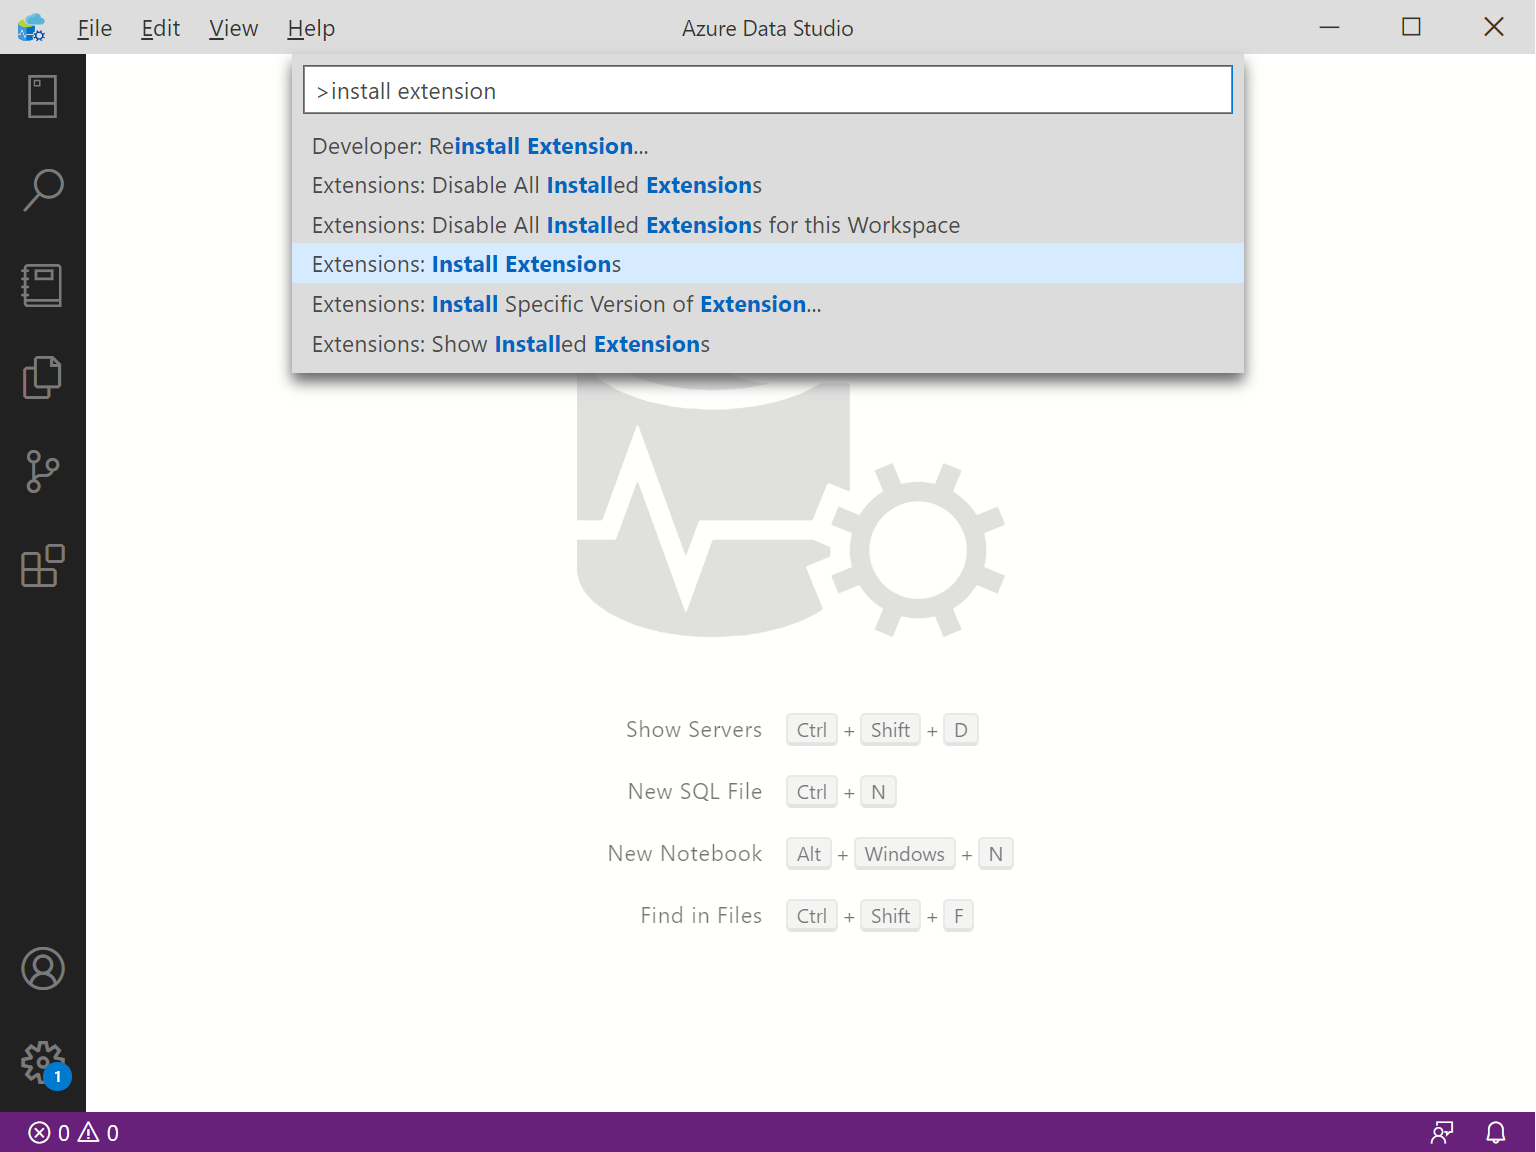
Launch the command palette by either pressing Ctrl + Shift + P or View > Command Palette.
Type “install extensions”.
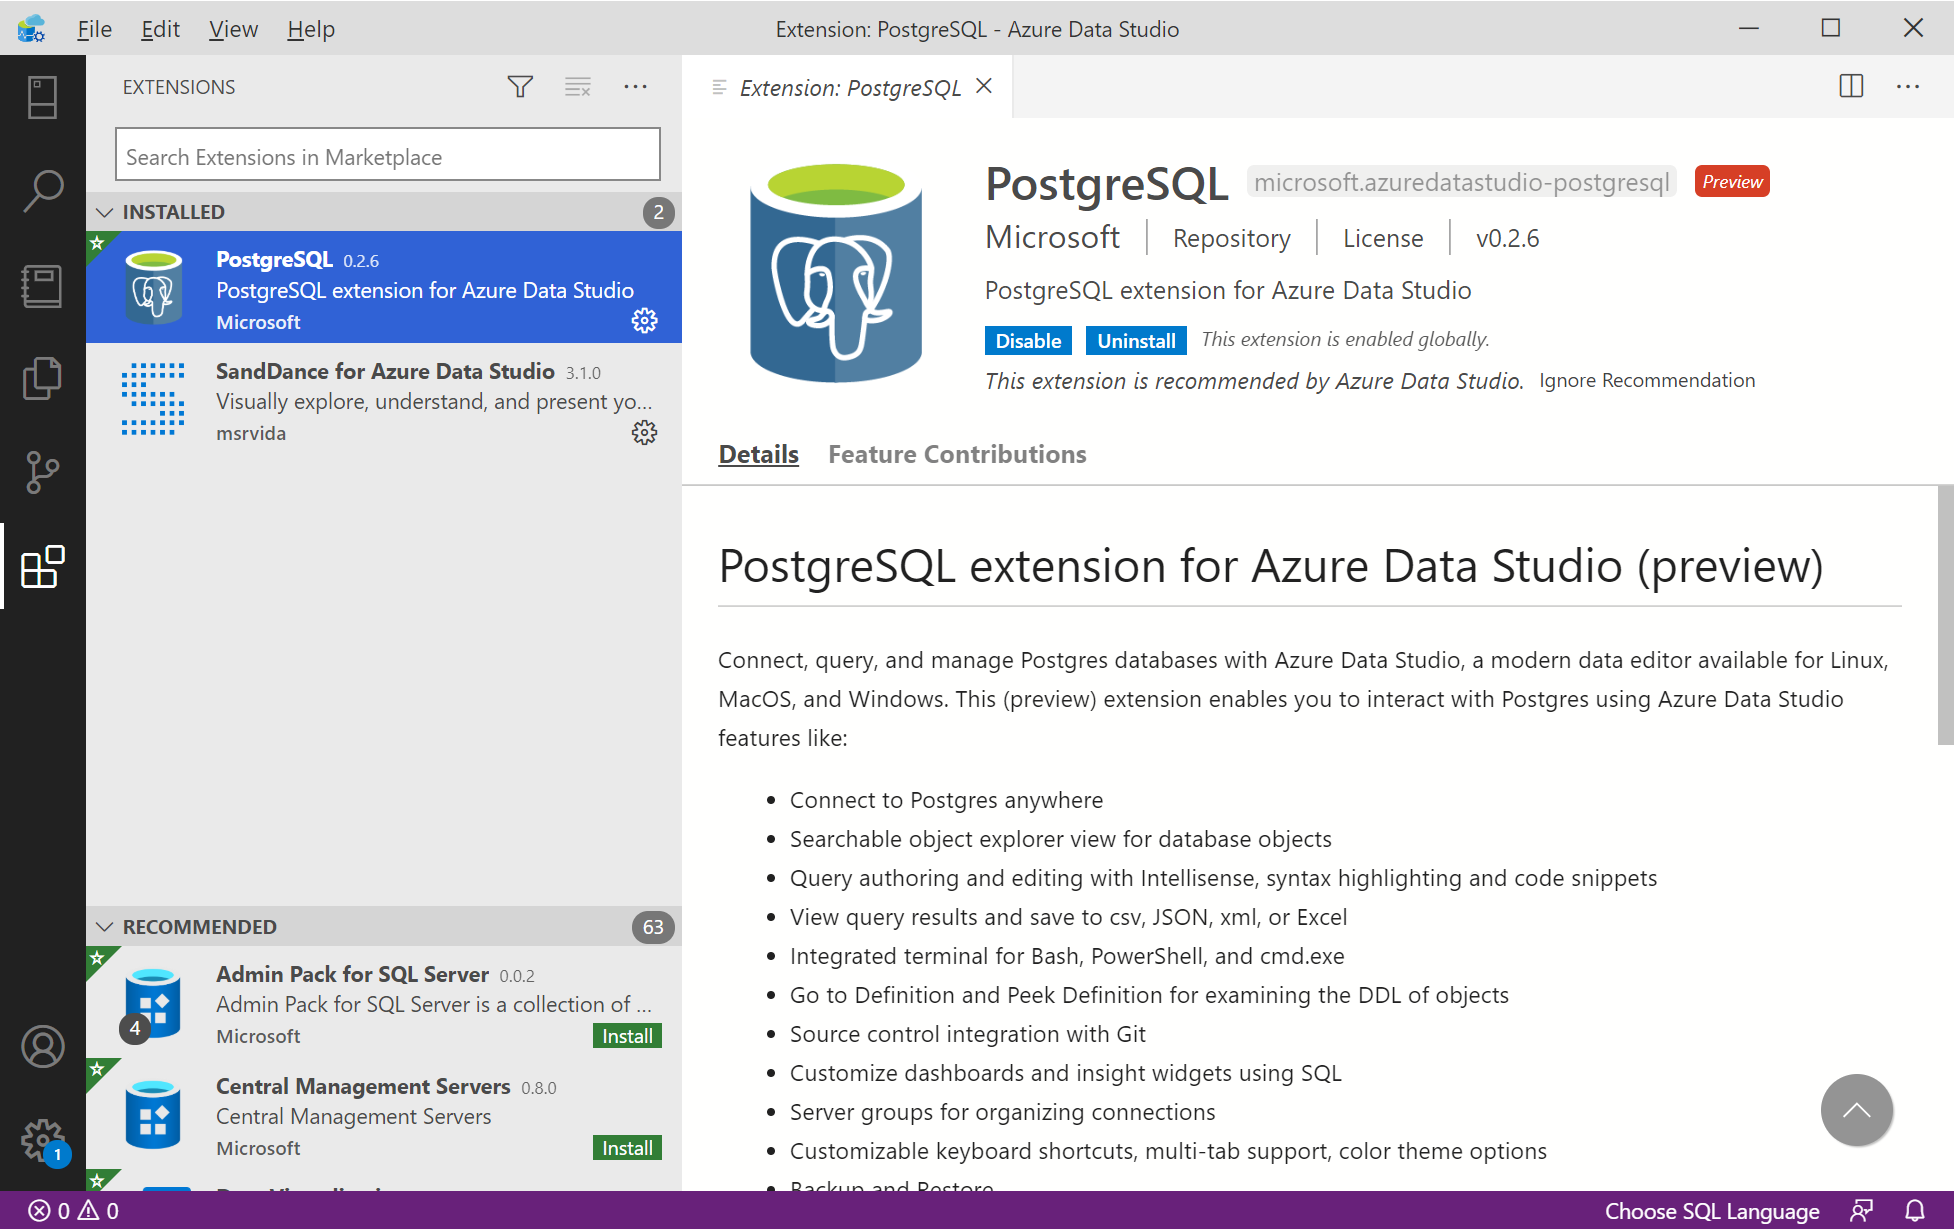
In the search bar that has appeared on the left, search for “PostgeSQL” and click on the install icon. My extension was already installed, hence why you won’t see the “install” icon on my screenshot.
3. Connect to PostgreSQL
Almost there. Now its time to connect to PostgreSQL. To do so, click on the “New Connection” button as shown below.
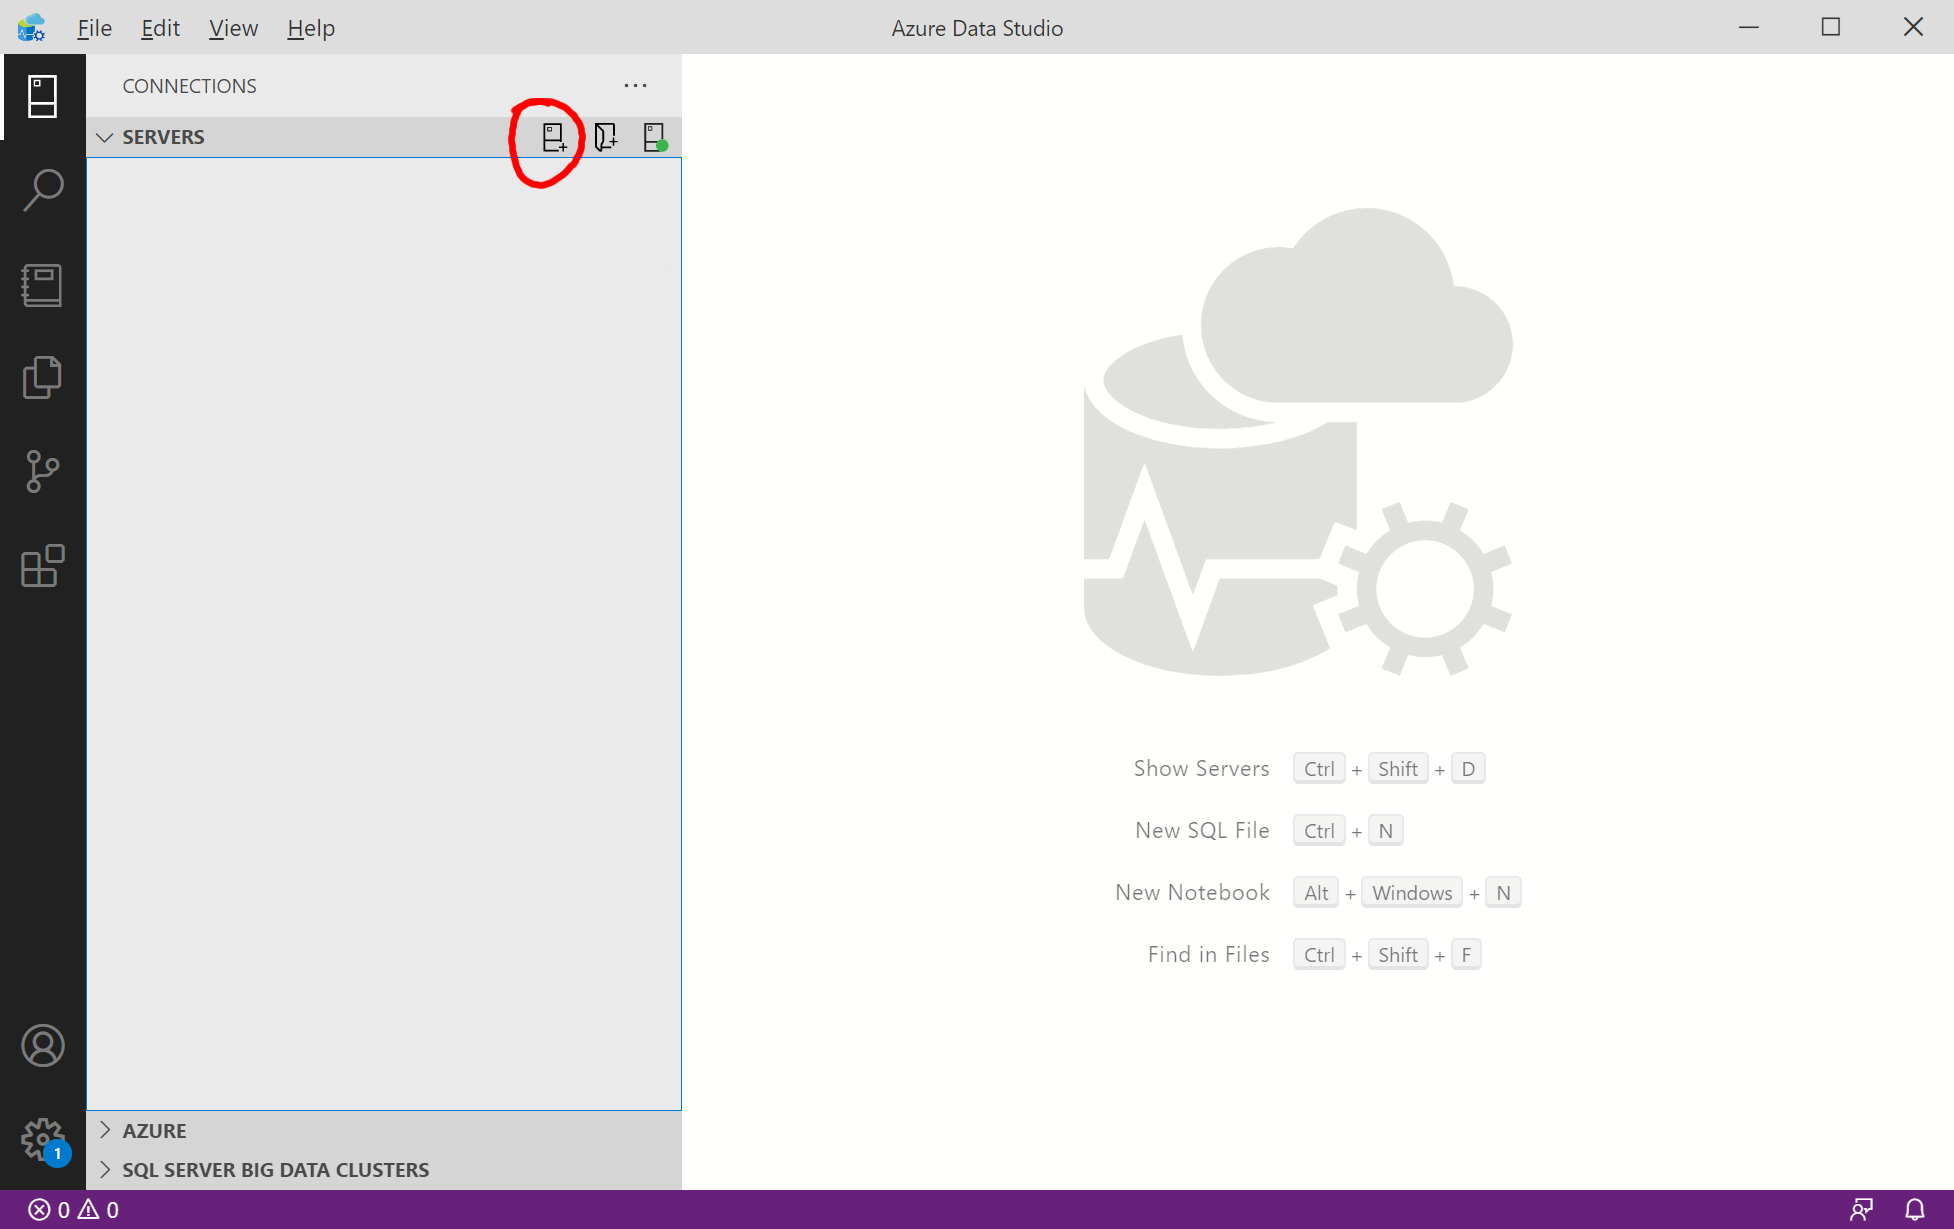
A new panel should appear on the left. This is where we enter the PostgreSQL connection details.
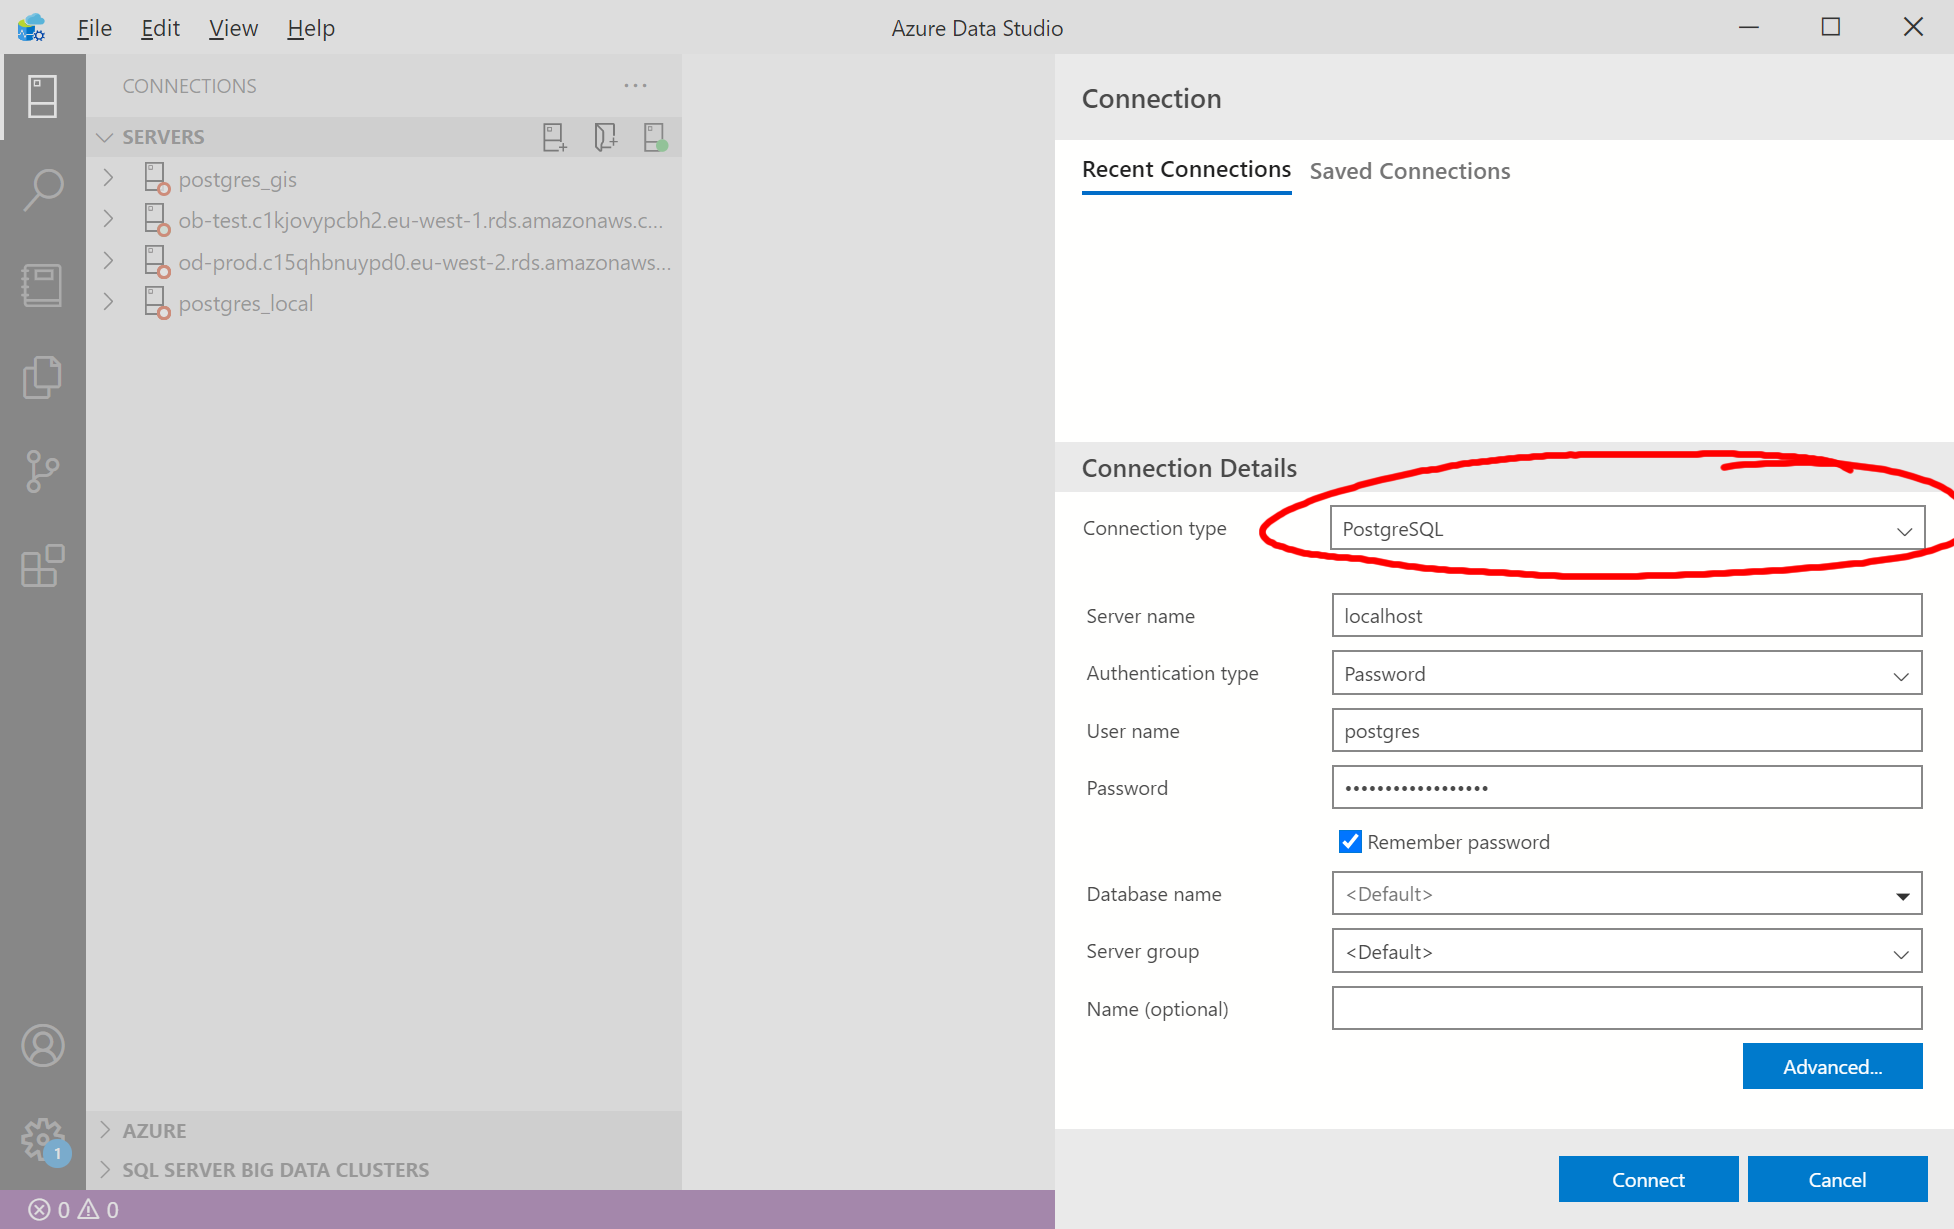
- Select “PostgreSQL” as the “Connection type” as highlighted below.
- For “Server name” enter
localhost. - For the “User name” enter
postgres. - For password, this will be what was set in Step 4 of Installing PostgreSQL.
- For more connection options you can click on the “Advanced” button and enter for instance a custom port that you may have specified differently yo Step 6 of installing PostgreSQL.
- Finally click on “Connect”.
Now you should have connected to the PostgreSQL and you are free to create and query databases! Enjoy!
Connecting using the command line
In order to use the PostgreSQL’s command line tool psql we need to add it to Windows environment variables so that the psql command is recognised.
Add the environment variable
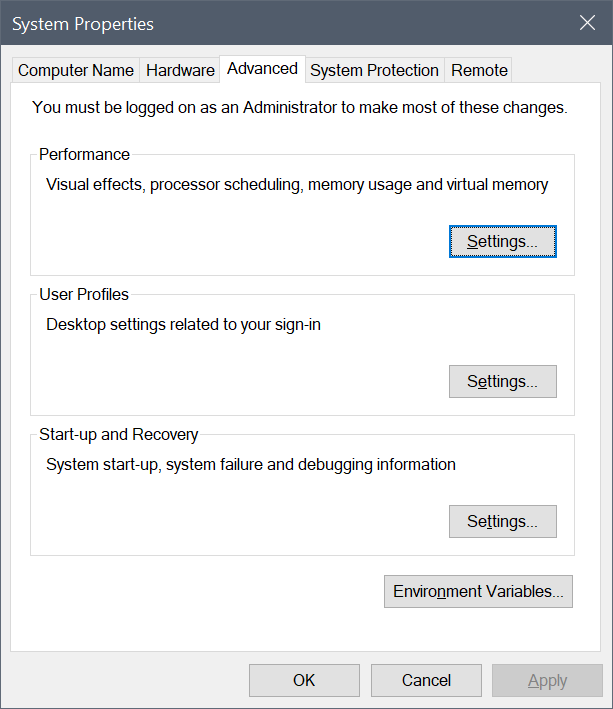
Search for “environment variables” in the Windows task bar.

The “System Properties” should pop up. Now select “Environment Variables”.
Using the psql command
Launch command prompt, or your choice of terminal. Then, type the following command to login as the default user postgres which was created in step 4. Set a password.
psql -U postgres
It should prompt you with a password like shown below. This is where you enter the password that was created in step 4. Set a password.
Password for user postgres:
You should then have entered into PostgreSQL and you can start to create databases and run and write queries.
Password for user postgres:
psql (13.1)
WARNING: Console code page (850) differs from Windows code page (1252)
         8-bit characters might not work correctly. See psql reference
         page "Notes for Windows users" for details.
Type "help" for help.

postgres=#
This confirms PostgreSQL was installed succesfully. To exit, just type \q to quit.
A few useful psql commands
Here are few psql commands to get you going.
| Command | Description |
|---|---|
\? | Lists all command available |
\l | List all databases |
\du | Lists existing roles |
\c mydatabase | Connects to a database called mydatabase |
\dt | Lists all the tables in the connected database |
\q | Quits and exists psql |
Summary
In this post, I described how you get install PostgreSQL on a Windows machine by using the official installer. I also demonstrated Connecting using Azure Data Studio which is using a GUI and also Connecting using the command line.