
So this took me a moment to figure out as it’s not that obvious. Well, not obvious to me. Some themes have dedicated download links or pages and have instructions on how to install them. Which is great. Others assume you know what you are doing. For reference, I have written a few steps on how.
The steps below are manual and don’t require any particular coding skills and no scary command line executions.
Steps on how to download and install
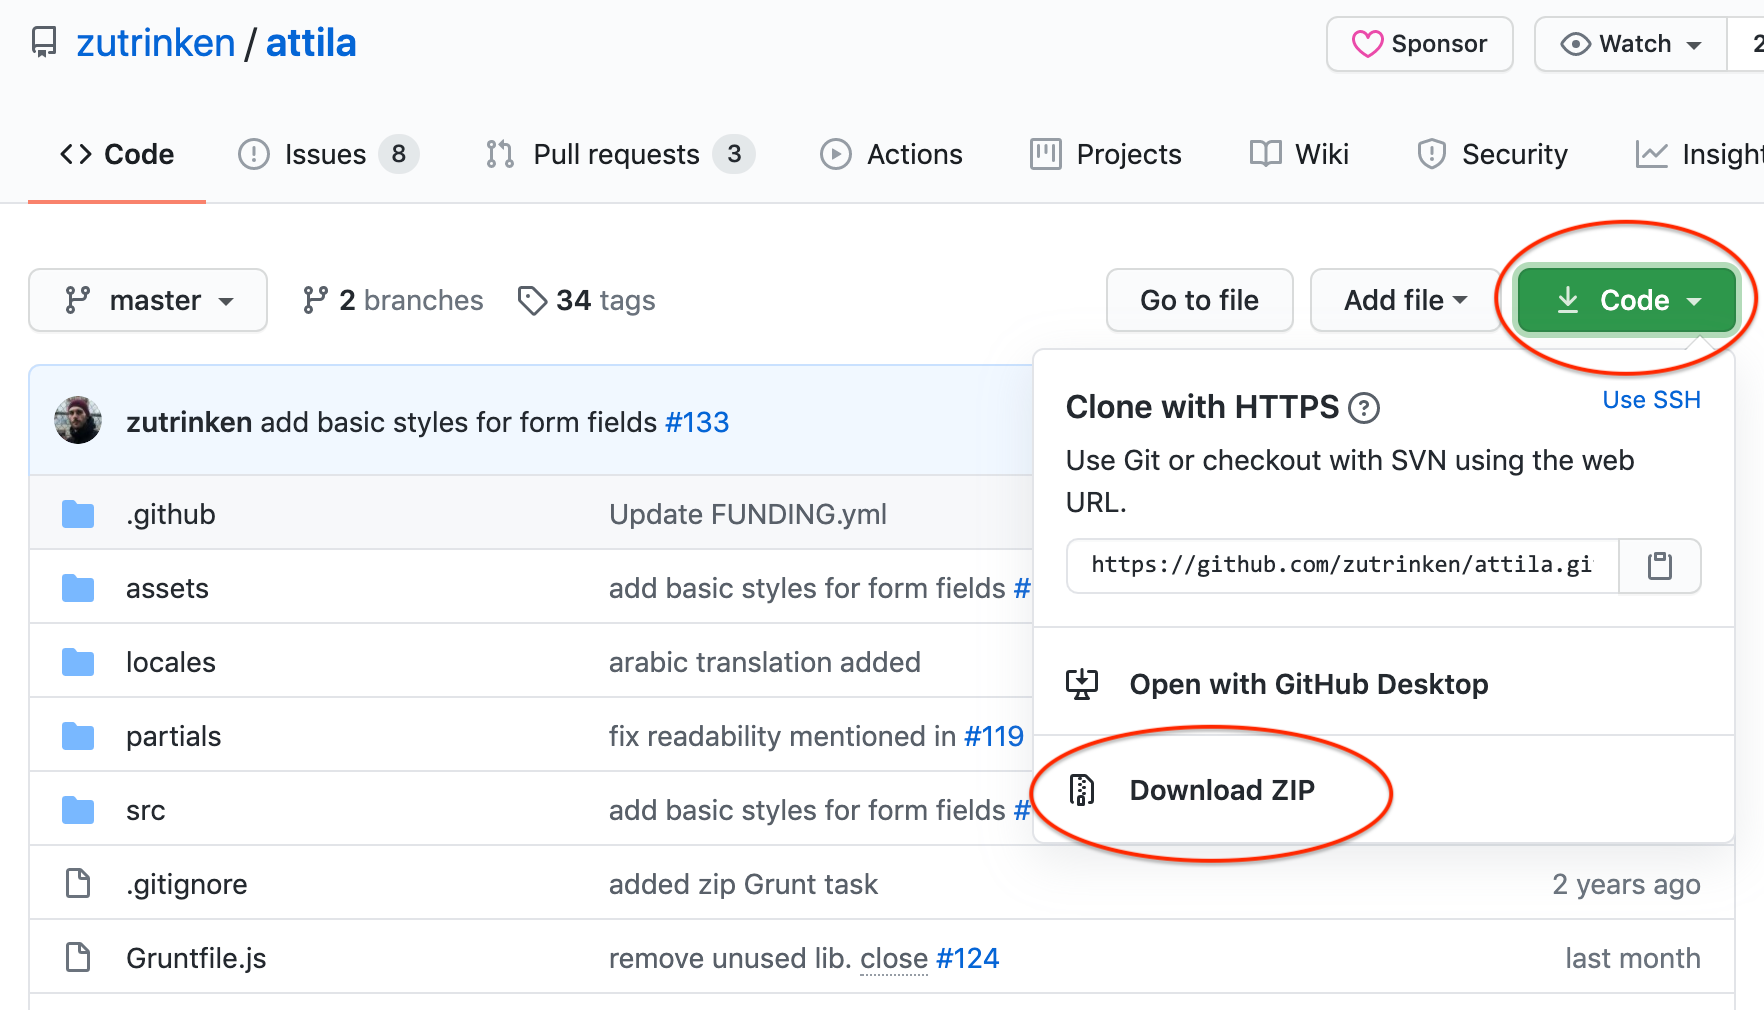
1. Download the Ghost theme of your choice. Now, there might be a dedicated download link for the theme you want to download, which should make things easier and obvious. Otherwise, if you reach a GitHub page, e.g. attila, you’ll want to download the repository. The quickest is clicking on the “Code” button and selecting “Download ZIP”.
2. Do not need to unzip. There is no need to unzip the downloaded Zip file. Computer instincts say we should unzip it, and I have! But actually, we don’t need to at all. So don’t do what I did!
3. Log into your Ghost blog. If you not logged in already, log into your blog using the URL path /ghost, for example: https://your-ghost-blog.com/ghost
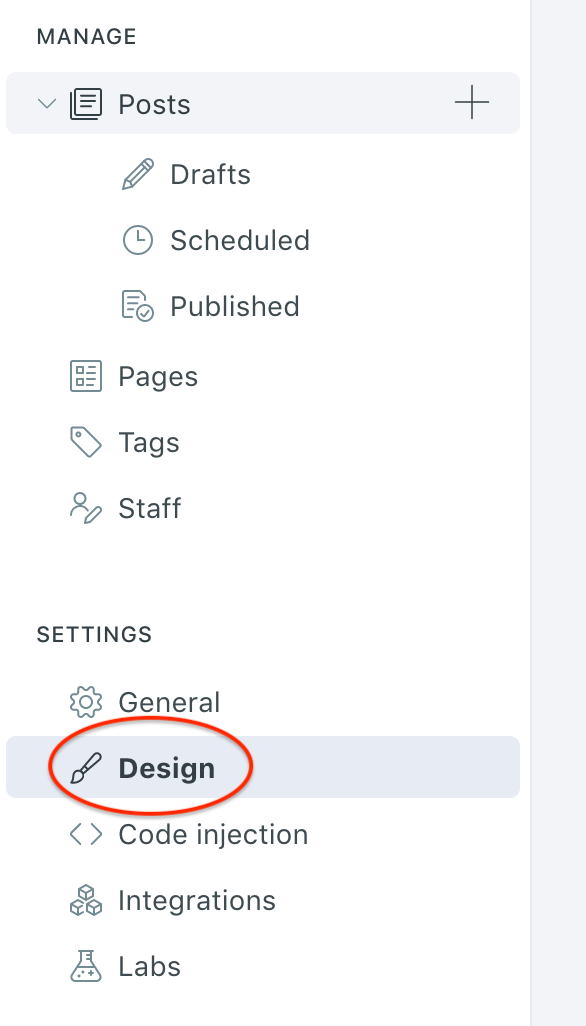
4. Go to the Design section. On the left-hand menu, you should see “Design” under the “Settings” header.
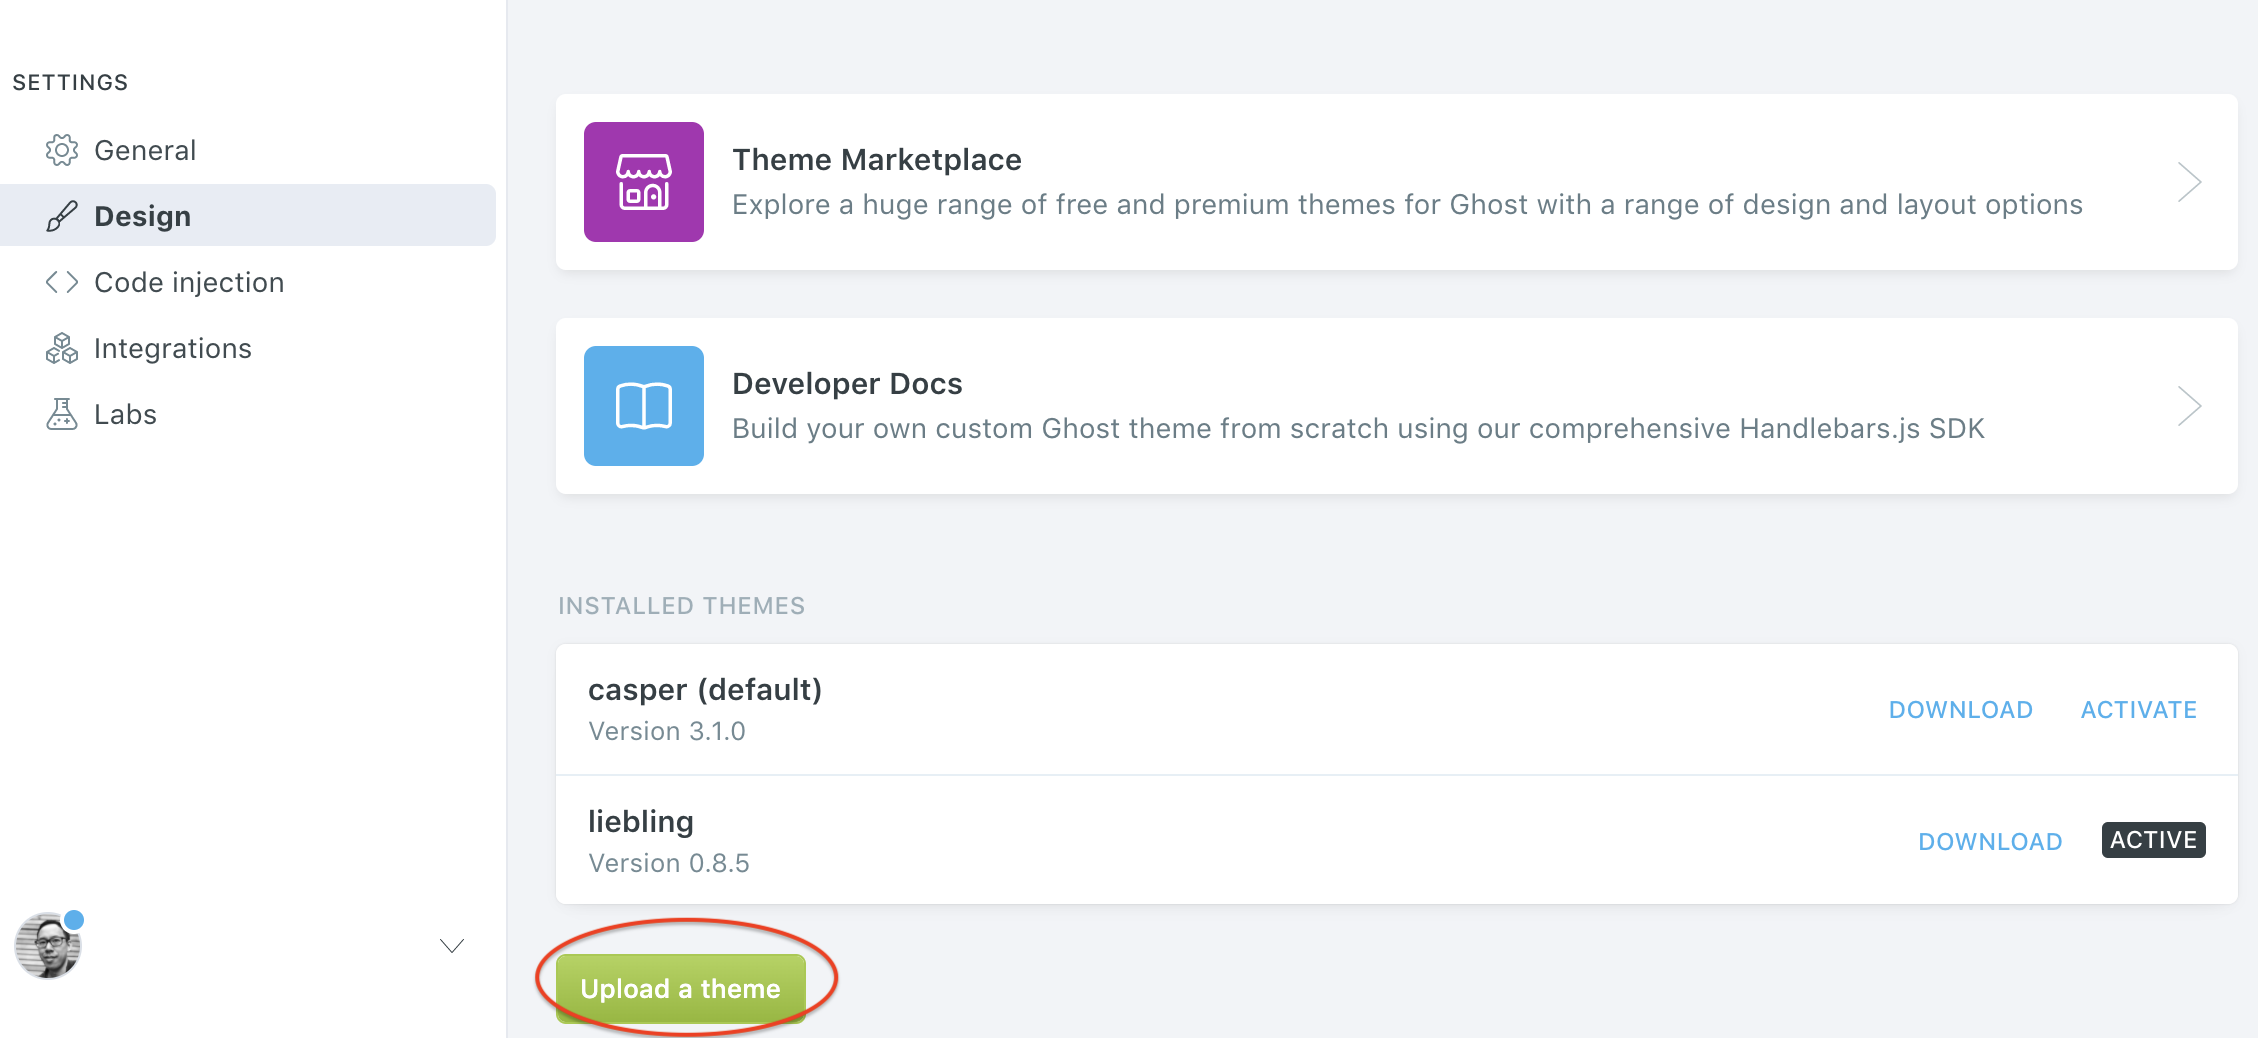
5. Click on “Upload a theme”. There should be a visible “Upload a theme” button at the bottom of the page, which you can click on to open the upload dialog box.
6. Drag the download zip them file. With the upload dialog box open, go ahead and drag and drop the downloaded zip file.
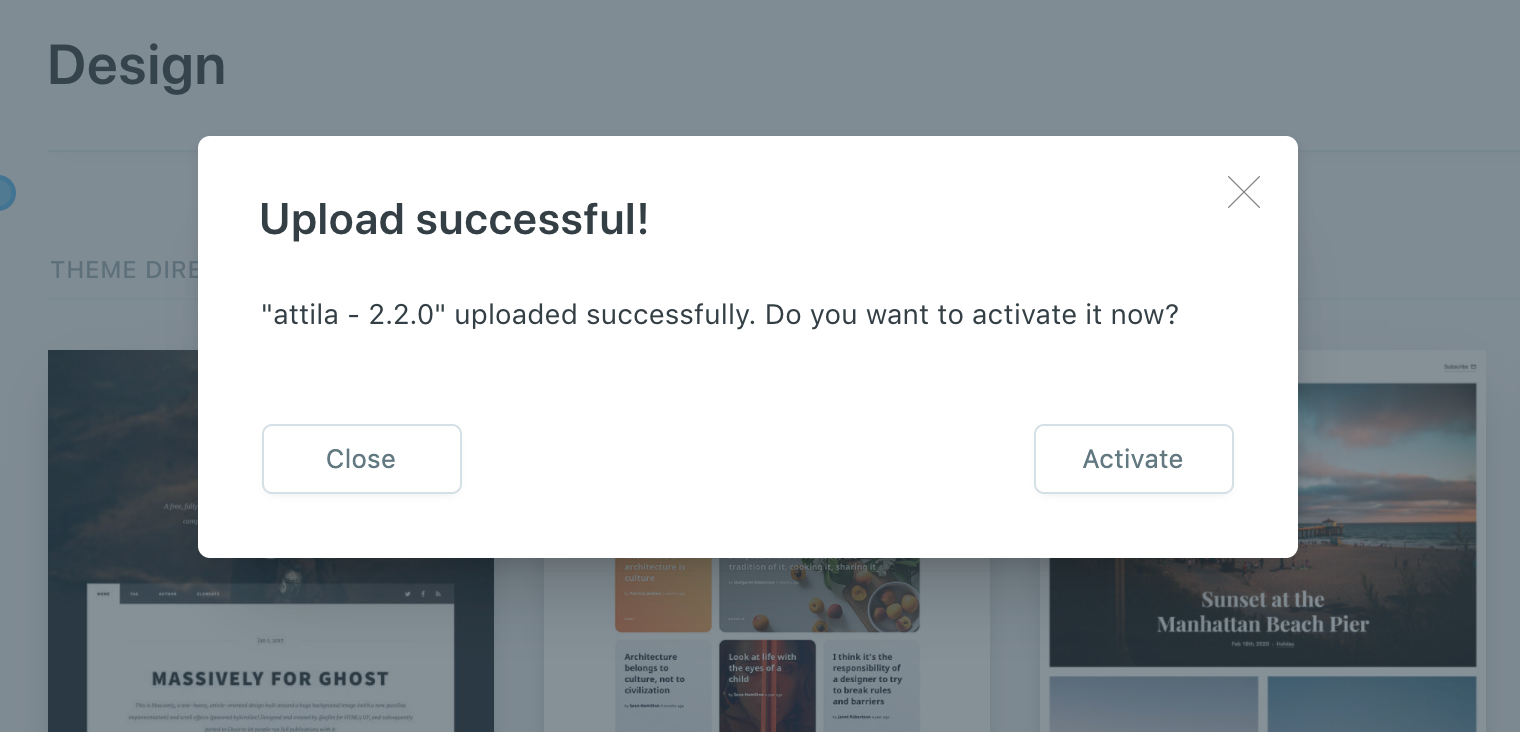
7. Activate the theme. Once the theme has been uploaded, Ghost will ask you to active the theme immediately or later. Feel free to choose what’s best.
That’s it. Those are the few steps to upload and set a theme on Ghost. It may not be so obvious at first, but once you’ve discovered how, it’s pretty straightforward.